 Merch
Merch Medical card
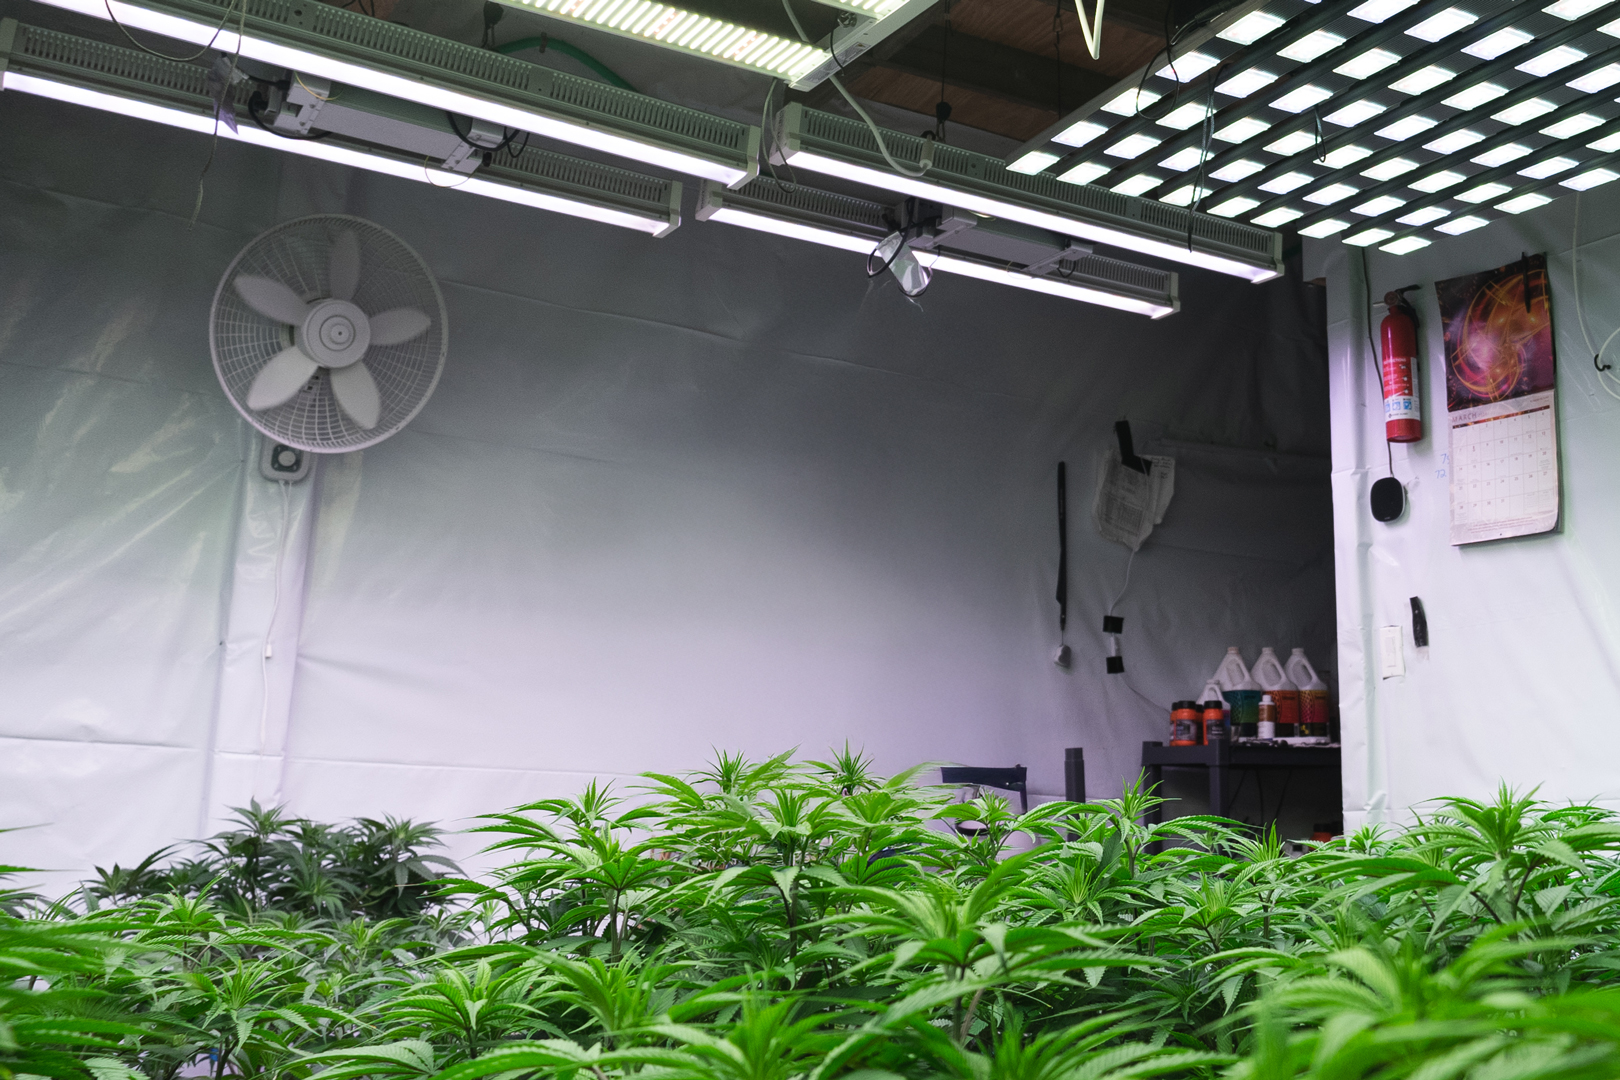
The first steps into growing cannabis may bring a wave of emotions and excitement of the potential harvest. It might also bring fear due to the overwhelming amount of resources. This guide endeavors to simplify the process of growing cannabis by walking you through a straightforward, step-by-step process from seed through harvest.
Whether you wish to cultivate at home for your own use or merely wish to understand how the procedure unfolds, this comprehensive piece of writing shall provide the insight and confidence required for you to cultivate your own cannabis plants from the start.
We shall cover from how to get the perfect grow space to how to learn the intricate life cycle of these extremely adaptable bloomers.
Products We Recommend
Step 1: Choose the Right Grow Space
Your very first big decision for your aging cannabis journey is determining the place your cannabis plants will call home. The indoor vs. outdoor debate will impact your growth process significantly, your costs, and the level of control over the final product.
These two settings offer a unique set of advantages and disadvantages corresponding to the different goals and methods. We will jump into each of these to help you understand your best choice.
Growing Cannabis Indoors
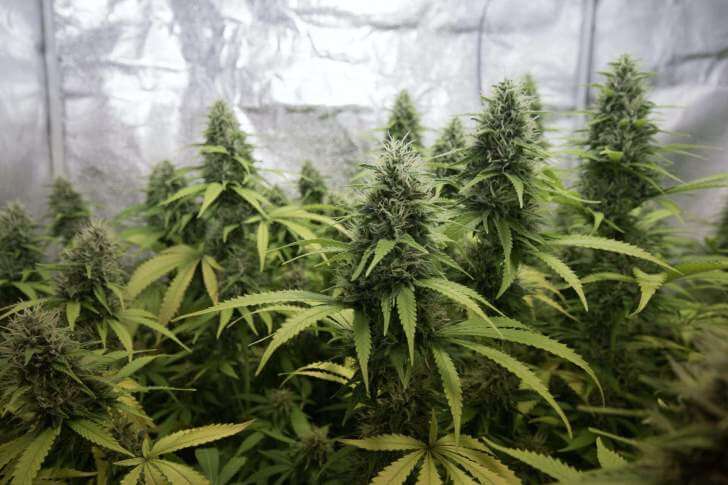
Growing weed indoors provides the ultimate control over every aspect of your plant’s environment. From light and temperature to humidity and air circulation, you become the master of your garden’s climate.
This level of control allows for all year cultivation and can lead to high yields of highly potent buds. For many home growers, an indoor setup is the most practical option, especially when privacy is a concern.
For a successful indoor grow, you need a dedicated grow space like a grow tent or a spare room. Picking the right space will help you have more control on light cycles, pests, yield and the quality of the final product.
The initial investment needed for growing marijuana indoors can be very high for beginners. Different equipments are needed for a successful grow, this includes grow lights, ventilation systems, and climate control devices.
Electricity costs will also be a recurring expense. Despite these costs, the ability to cultivate multiple harvests per year and the consistent quality of the final product make indoor growing a popular choice for those serious about home cultivation.
Growing Marijuana Outdoors
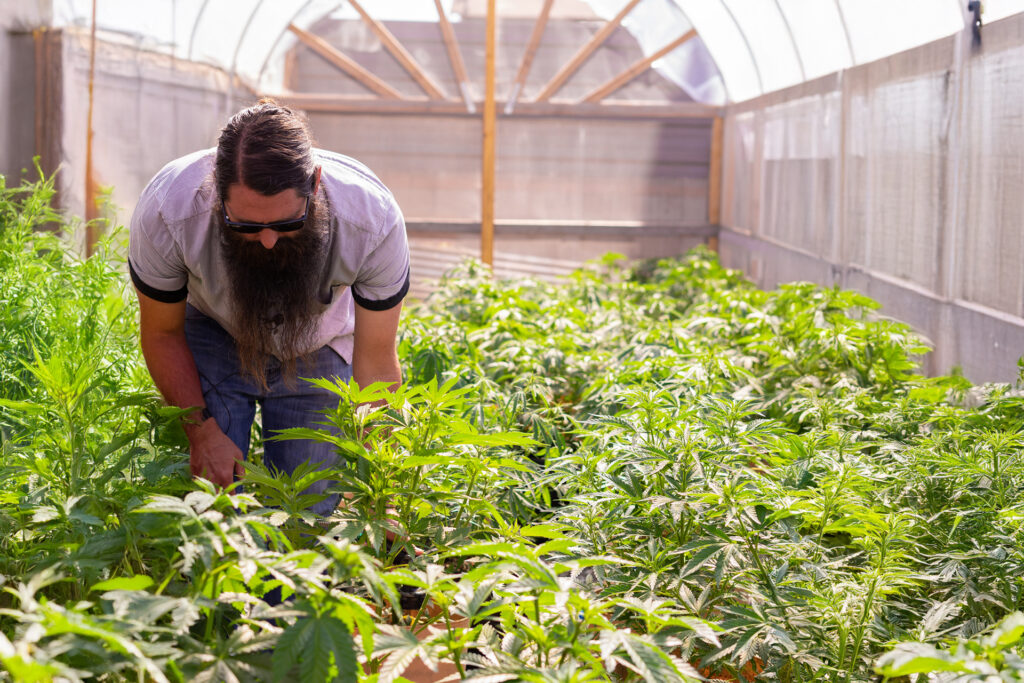
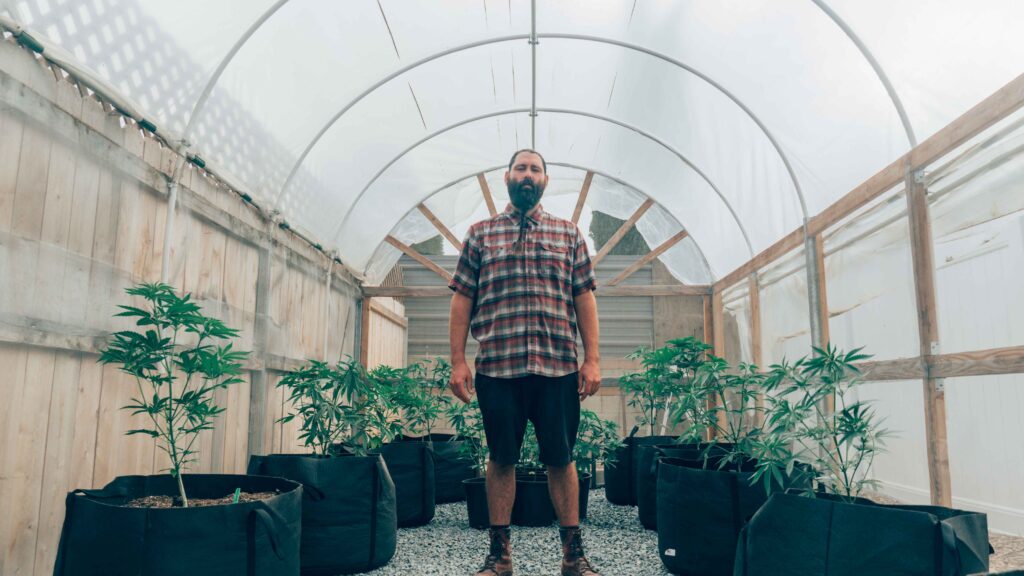
If you have access to a private, sunny backyard, outdoor growing can be a rewarding and cost-effective method of cannabis cultivation. The power of the sun is free, and the natural environment provides ample fresh air and space for your cannabis plants to flourish.
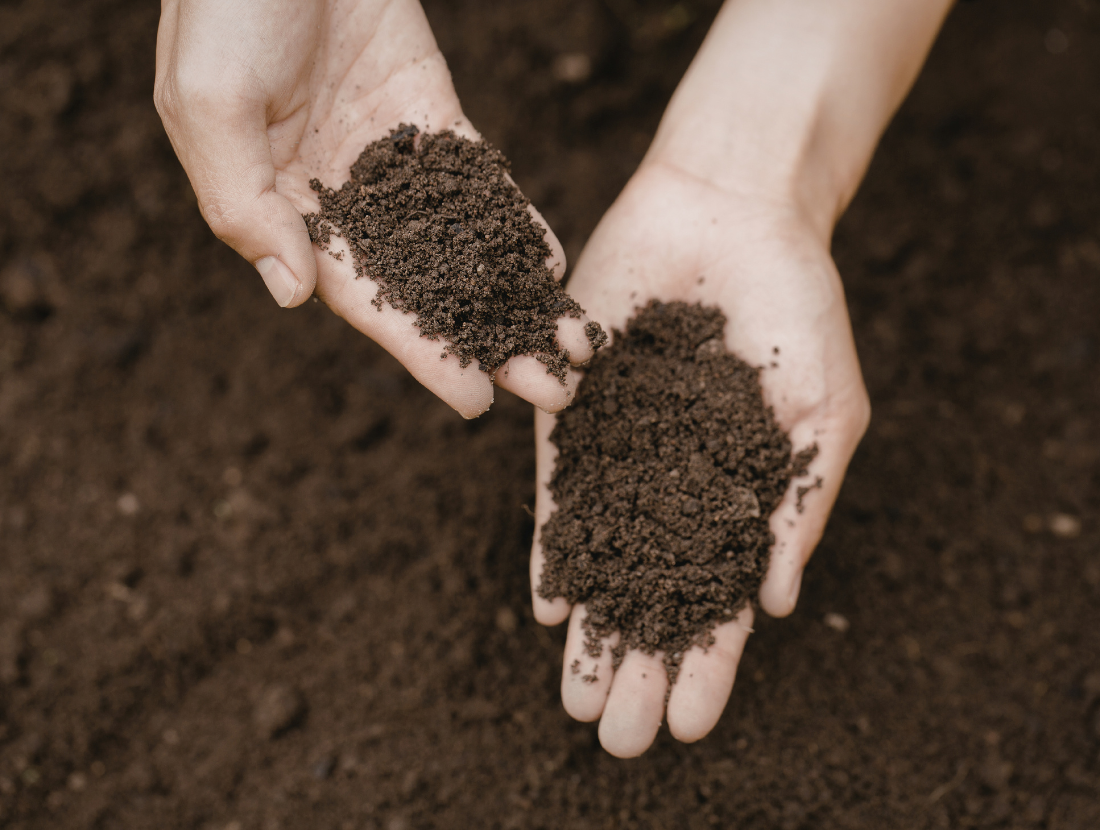
Outdoor growing allows marijuana plants to reach their full genetic potential, often resulting in larger plants and good yields. The initial setup for growing cannabis outdoors is minimal compared to growing indoors. You need high quality soil, nutrients, and a reliable water source.
Despite its simplicity, outdoor growing can still pose a challenge. You are at the mercy of the elements, including pests, diseases, and unpredictable warm weather patterns. The security of your crop is also a major consideration, as your plants will be more exposed.
Furthermore, the light cycle is dictated by the seasons, limiting you to a single harvest per year in most climates. For those living in regions with short summers, selecting a fast-flowering strain is crucial to ensure your plants flower and mature before the first frost.
Step 2: Gather Your Supplies & Equipment
Once you have decided on your grow space, the next step is to assemble the necessary tools and equipment. The specific items you need will vary depending on whether you are growing cannabis indoors or outdoors.
A well-equipped grow space is fundamental to a successful harvest, ensuring your plants have everything they need to thrive through each stage of their life.
Essential Indoor Gear
Creating the perfect indoor environment for your cannabis plants requires a few key pieces of equipment. These items work together to mimic the ideal conditions found in nature, allowing you to cultivate healthy and potent marijuana plants from the comfort of your primary residence.
| Equipment | Description | Importance |
|---|---|---|
| Grow Lights | The most critical component of an indoor setup. LED, HID (HPS and MH), and CFL are the most common types. | Essential for photosynthesis, driving plant growth and bud development. |
| Grow Tent | An enclosed space that contains your garden, reflects light, and helps control the environment. | Provides a dedicated, manageable grow space and enhances light efficiency. |
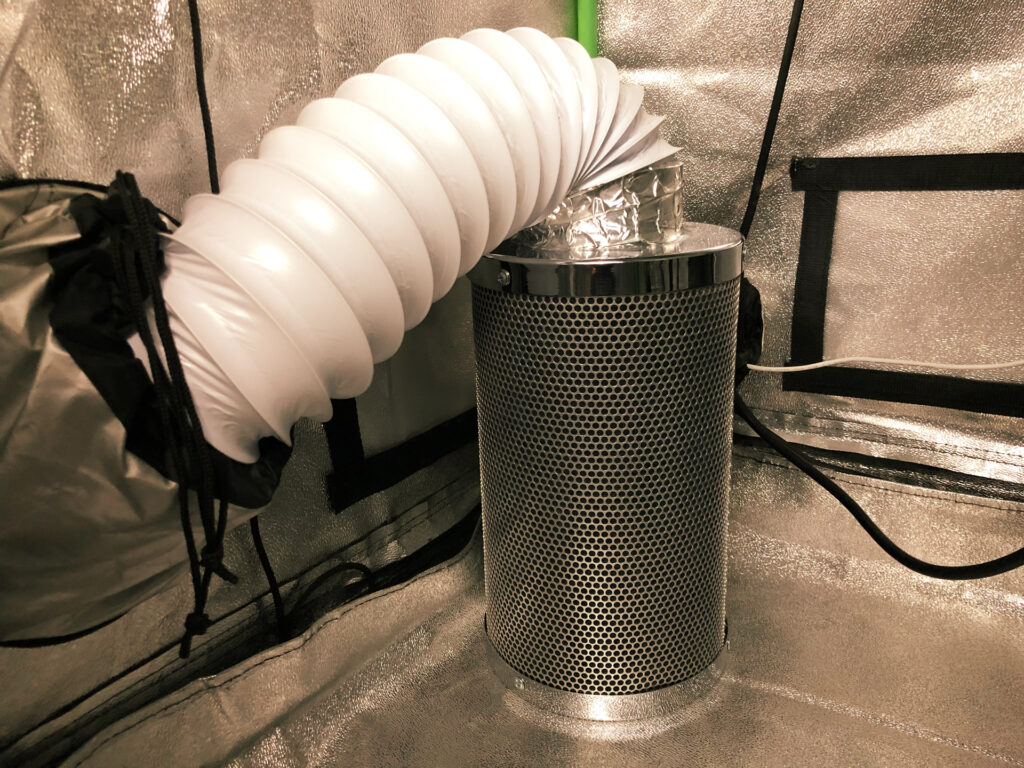
| Ventilation System | Includes an exhaust fan, carbon filter, and oscillating fans. | Crucial for maintaining fresh air, controlling temperature and humidity, and eliminating odors. Prevents stagnant air. |
| Pots or Containers | The vessels in which your cannabis plants will grow. Fabric pots are a popular choice for their breathability. | Provides a home for the root zone and the growing medium. |
| Growing Medium | The material your plants will grow in. Soil, coco coir, and hydroponic systems are common options. | Supplies a foundation for the roots and, in the case of soil, initial enough nutrients. |
| Nutrients | Fertilizers that provide the essential elements for plant growth. | Feeds your plants throughout their life cycle, especially important after the initial nutrients in the soil are depleted. |
Essential Outdoor Gear
Outdoor growing requires less equipment than its indoor counterpart, but a few essential supplies will help ensure a successful and bountiful harvest. These items are focused on preparing the natural environment and protecting your plants from potential threats.
| Equipment | Description | Importance |
|---|---|---|
| Quality Soil | A rich, well-draining loamy soil is ideal for cannabis cultivation. | Provides a strong foundation and essential nutrients for your plants. |
| Nutrients | Organic or synthetic fertilizers to supplement the soil. | Ensures your cannabis plants have enough nutrients to support vigorous growth and abundant flowering. |
| Pest & Predator Protection | Fencing, netting, or organic pesticides. | Protects your crop from common garden pests and larger animals. |
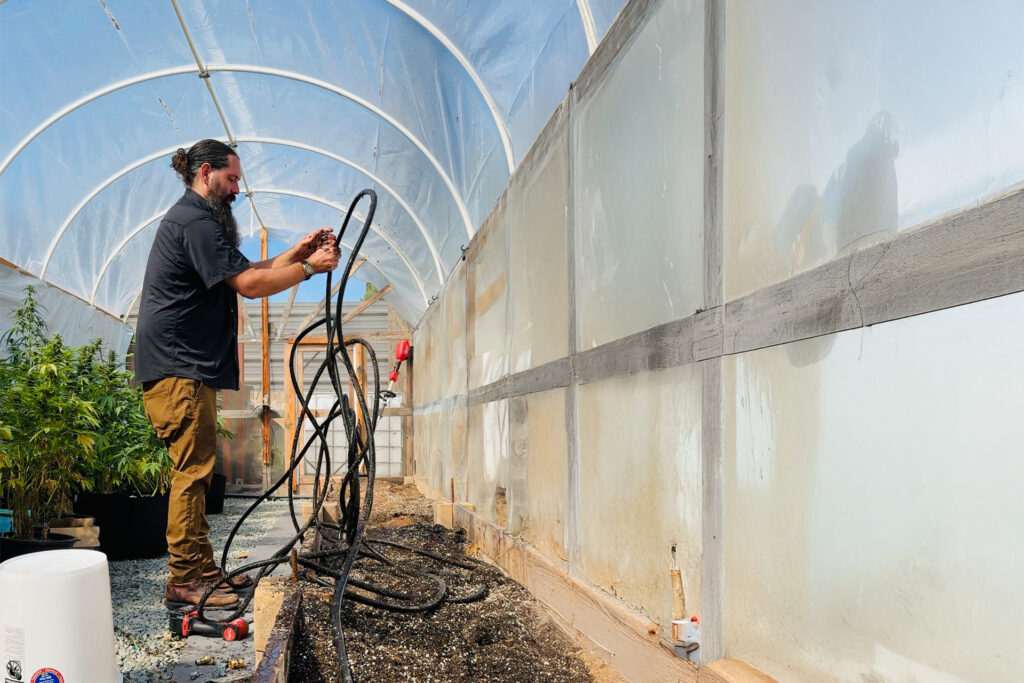
| Watering Solutions | A watering can, hose, or drip irrigation system. | Provides a consistent and reliable source of water, especially during dry periods. |
Step 3: Choose Your Starting Material
With your grow space prepared and your equipment ready, it’s time to select the genetic foundation of your garden. You can start your cannabis cultivation journey from either seeds or clones. Each option has its own set of advantages and disadvantages, and the right choice for you will depend on your experience level, goals, and the availability of materials in your area.
Seeds vs. Clones
Starting from cannabis seeds is the most common and accessible method for home growers. Seeds offer a wide variety of strains to choose from, allowing you to select the exact genetics that suit your preferences for flavor, aroma, and effect.
When you grow marijuana from seed, you are starting with a fresh, disease-free plant with a strong taproot, which can lead to more vigorous growth. However, growing from regular seeds also presents the challenge of identifying and removing male plants, which can pollinate females and ruin a harvest of smokable buds.
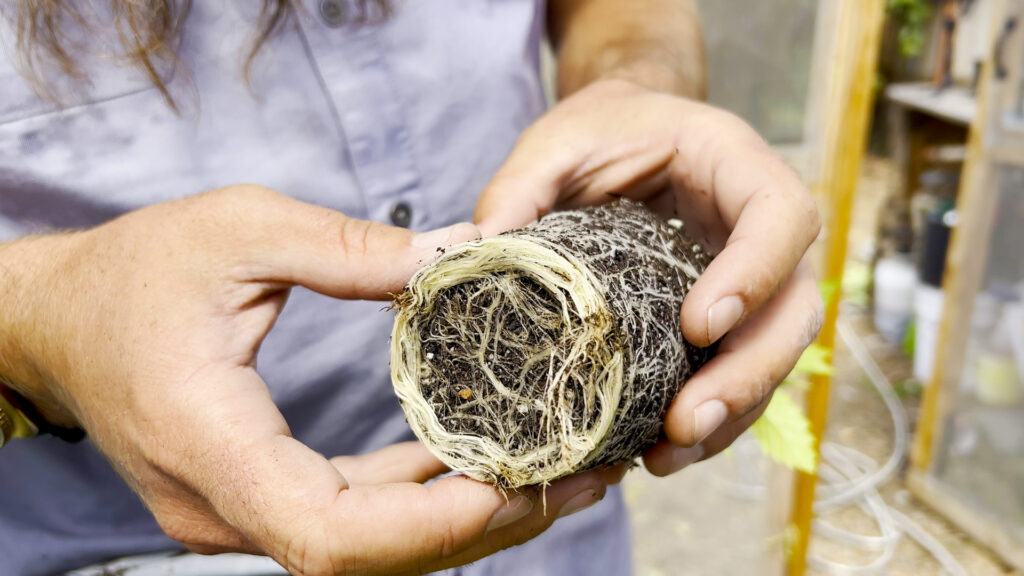
Clones, on the other hand, are cuttings taken from a mature female cannabis plant. The primary advantage of using clones is that you are guaranteed a female plant with the exact genetic makeup of the mother.
This means you will know the plant’s growth characteristics, flavor, and potency from the start. Clones also have a shorter vegetative stage, allowing for a quicker turnaround time. The main drawbacks of clones are their limited availability, the risk of inheriting pests or diseases from the mother plant, and a less robust root system compared to plants grown from seed.
Understanding Cannabis Seeds Types
If you choose to start from cannabis seeds, you will encounter three main types: regular, feminized, and autoflowering. Understanding the differences between these seed types is crucial for planning your grow and achieving your desired outcome.
- Regular Seeds: These seeds are produced through natural pollination and have a 50/50 chance of producing either male or female plants. Regular seeds are ideal for breeders who want to create new strains or for growers who want to produce their own seeds.
For those seeking only smokable buds, using regular seeds requires diligent monitoring to identify and remove the male plants before they release pollen. - Feminized Seeds: These seeds are genetically engineered to produce only female plants. This eliminates the guesswork and the risk of accidental pollination, making them the most popular choice for both beginner and experienced growers. With female weed seeds, you can be confident that every plant in your garden has the potential to produce buds.
- Autoflowering Seeds: Autoflowering seeds are a unique type of cannabis seed that contains genetics from Cannabis ruderalis. Unlike regular and feminized seeds, which rely on a specific light cycle to initiate flowering, autoflowering plants will begin flowering automatically after a few weeks of growth, regardless of the light schedule.
This makes them an excellent choice for beginners, as they require less management and have a shorter overall life cycle. Autoflowering plants tend to be smaller and produce lower yields than their photoperiod counterparts, but their speed and simplicity are major advantages.
Step 4: The Growing Process
Understanding the life cycle of a cannabis plant is fundamental to successful cannabis cultivation. From the moment a seed sprouts to the final harvest, each stage of the growing process has specific requirements for light, water, and nutrients. By familiarizing yourself with these stages, you can provide your cannabis plants with the care they need to thrive and plants produce high-quality buds.
The Life Cycle of a Cannabis Plant
The life of a cannabis plant can be broken down into four main stages: germination, seedling, vegetative, and flowering. Each stage represents a distinct phase of development, culminating in the maturation of the plant and the production of resinous flowers.
1. Germination Stage
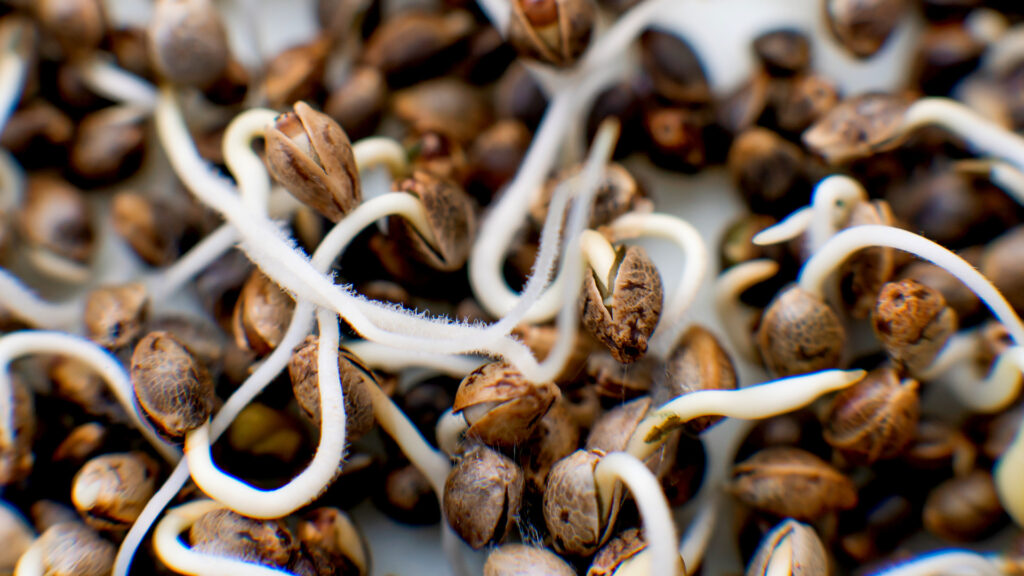
The germination stage is the very beginning of your cannabis plant’s life. This is where the cannabis seed awakens from its dormant state and begins to sprout. The goal of the germination stage is to encourage the seed to develop a taproot, which is the primary root that will anchor the plant and absorb water and nutrients.
There are several methods for germinating cannabis seeds, but one of the most popular and reliable is the paper towel method. This involves placing the seeds between a damp paper towel on a plate and covering them with another plate to create a dark, humid environment.
Within a few hours to a few days, the taproot emerges, and the seed is ready to be planted in a growing medium. Direct planting into the soil is another option, but it can be less reliable as it’s harder to monitor the seed’s progress.
2. Seedling Stage
Once the germinated seed is planted, it enters the seedling stage. This stage typically lasts for two to three weeks and is characterized by the emergence of the first set of leaves, known as cotyledons.
These are followed by the first true leaves, which will have the iconic serrated shape of a cannabis plant. The seedling stage is a delicate phase, and the young plant focuses its energy on developing a strong root system.
During this time, it’s crucial to provide gentle light and to avoid overwatering, as seedlings are susceptible to high humidity and fungal diseases. The growing medium should be kept moist but not waterlogged to encourage healthy root development.
As the seedling grows, it will develop more leaves and begin to resemble a miniature cannabis plant, signaling its transition into the veg stage.
3. Vegetative Stage
This stage is where the cannabis plant experiences explosive growth. This stage can last anywhere from three to sixteen weeks, depending on the strain and the grower’s goals.
During the vegetative growth phase, the plant focuses on developing a strong framework of stems, branches, and leaves. This is the time to implement training techniques to shape the plant canopy and maximize light exposure.
The light cycle during this stage for photoperiod plants is typically 18 hours of light and 6 hours of darkness. This long light period encourages the plant to continue its vegetative growth and delay flowering.
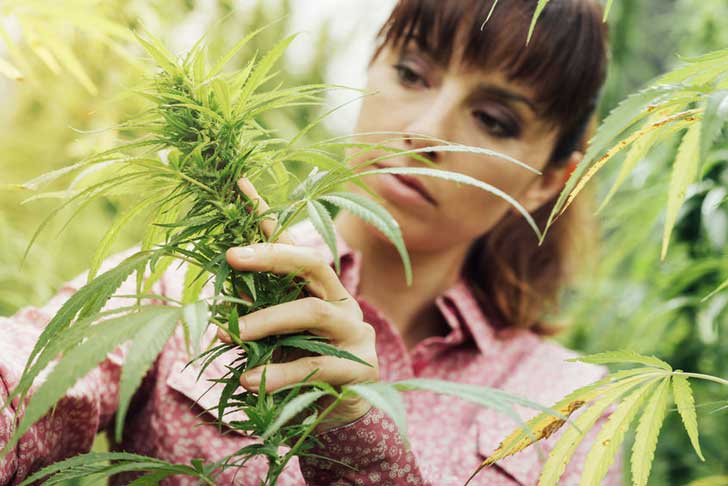
A healthy plant in this stage will have vibrant green leaves and a sturdy structure, ready to support the weight of future buds. It is also in this stage that you can easily distinguish between male plants and female plants if you are growing from regular seeds.
4. Flowering Stage
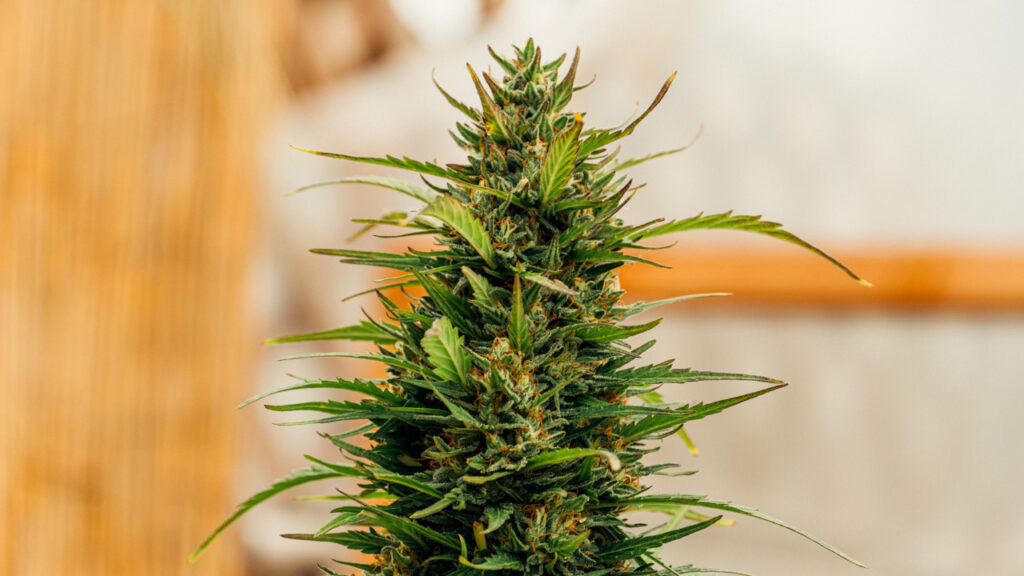
The flowering stage is the most exciting part of the growing process, as this is when your plants begin to produce buds. For photoperiod strains, this stage is initiated by changing the light cycle to 12 hours of light and 12 hours of darkness.
This change in the light cycle mimics the changing seasons and signals to the plant that it’s time to reproduce. This stage can last from eight to sixteen weeks, depending on the strain. During this time, the plant’s energy is redirected from vegetative growth to producing flowers.
You will see the first signs of flowering at the plant’s nodes, where small white pistils will begin to form on female plants. These will eventually develop into dense, resinous buds.
It is crucial to monitor your plants closely during the flowering stage for any signs of male flowers, which can pollinate females and reduce the quality of your harvest. As the flowering plants mature, the buds will swell, and the trichomes will change from clear to milky and finally amber, indicating that it’s time to harvest.
Understanding Cannabis Types
In addition to understanding the life cycle of a cannabis plant, it’s also helpful to be familiar with the three main subspecies of cannabis: Sativa, Indica, and Ruderalis. Each of these types has distinct characteristics that influence their growth patterns, appearance, and effects.
While most modern strains are hybrids that combine traits from different subspecies, understanding the characteristics of pure Cannabis Sativa, Cannabis Indica, and Cannabis Ruderalis can help you choose the right strain for your grow space and desired experience.
Cannabis Sativa
Cannabis Sativa plants are native to equatorial regions and are adapted to long, hot growing seasons. Sativa plants are known for their tall, lanky stature and narrow, light green leaves. A sativa plant grows taller than other types, often reaching heights of over 10 feet when grown outdoors.
They have a longer flowering stage than Indicas, sometimes taking up to 16 weeks to fully mature. The buds of a Cannabis Sativa plant are typically long and airy, with a sweet, fruity, or spicy aroma. The effects of Cannabis Sativa are often described as uplifting, energetic, and cerebral, making it a popular choice for daytime use.
Cannabis Indica
Cannabis Indica plants originated in the mountainous regions of Central Asia and are adapted to cooler climates and shorter growing seasons. Cannabis Indica plants are short and bushy, with broad leaves that are a deep, dark green.
They have a shorter flowering stage than Sativas, typically finishing in eight to ten weeks. The buds of a Cannabis Indica plant are dense and compact, with an earthy, pungent aroma. The effects of Cannabis Indica are generally described as relaxing, sedating, and body-focused, making it a popular choice for evening or nighttime use.
Cannabis Ruderalis
Cannabis Ruderalis is a unique subspecies of cannabis that is native to the harsh climates of Eastern Europe and Siberia. Cannabis Ruderalis is a small, hardy plant that is not typically grown for its psychoactive effects, as it has a naturally low THC content.
However, Cannabis Ruderalis has one very special trait: it is autoflowering. This means that it will start flowering based on its age, rather than the light cycle. This unique characteristic has made Cannabis Ruderalis an invaluable tool for breeders, who have crossed it with Sativa and Indica strains to create the wide variety of autoflowering seeds that are available today.
These autoflowering hybrids combine the potency and flavor of their photoperiod parents with the speed and resilience of Cannabis Ruderalis, making them an excellent choice for beginners and those looking for a quick harvest.
Step 5: Harvesting, Drying, and Curing
After weeks of careful nurturing, the moment you’ve been waiting for has finally arrived: harvest time. However, the journey to high-quality cannabis doesn’t end when you cut down your cannabis plants.
The post-harvest processes of drying and curing are just as crucial as the growing process itself. These final steps will transform your raw cannabis flower into the smooth, aromatic, and potent buds you’ve been working towards. Rushing this final phase is a common mistake among beginners, but patience will be rewarded with a vastly superior product.
When and How to Harvest
Timing your harvest is a delicate art that can make or break the quality of your final product. Harvest too early, and your buds will lack potency and flavor. Harvest too late, and the THC may begin to degrade, resulting in a more sedative effect.
The key to a perfect harvest is to closely monitor the trichomes, the tiny, mushroom-shaped resin glands that cover the buds. You will need a jeweler’s loupe or a digital microscope to get a clear view of the trichomes. As the plants flower, the trichomes will transition from clear to milky white and then to an amber color.
The ideal time to harvest for most strains is when the majority of the trichomes are milky white, with a small percentage (10-30%) having turned amber. This indicates that the THC content is at its peak. Once you have determined that your flowering plants are ready, the harvesting process itself is straightforward. You can either cut the entire mature plant at its base or remove individual branches.
The Drying Process
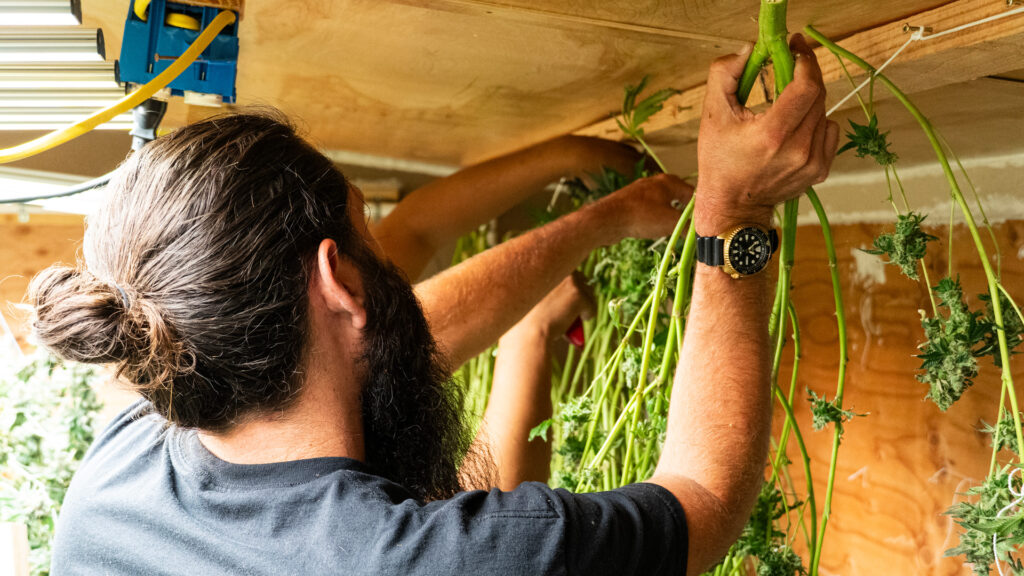
Once your cannabis plants are harvested, the next step is to dry the buds. The goal of the drying process is to slowly reduce the moisture content of the buds, which is essential for preventing mold and bud rot. A slow, controlled dry will also preserve the terpenes, the aromatic compounds that give each strain its unique flavor and aroma.
The ideal drying environment is a dark room with a temperature between 60-70°F (15-21°C) and a humidity level between 45-55%. You can hang the individual branches or the entire plant from a line or a drying rack.
It’s important to ensure there is good air circulation in the room to prevent stagnant air, but avoid pointing a fan directly at the buds, as this can cause them to dry too quickly. The drying process typically takes 7-14 days. You will know your buds are ready for the next stage when the smaller stems snap instead of bend, and the outside of the buds feels dry to the touch.
The Curing Process
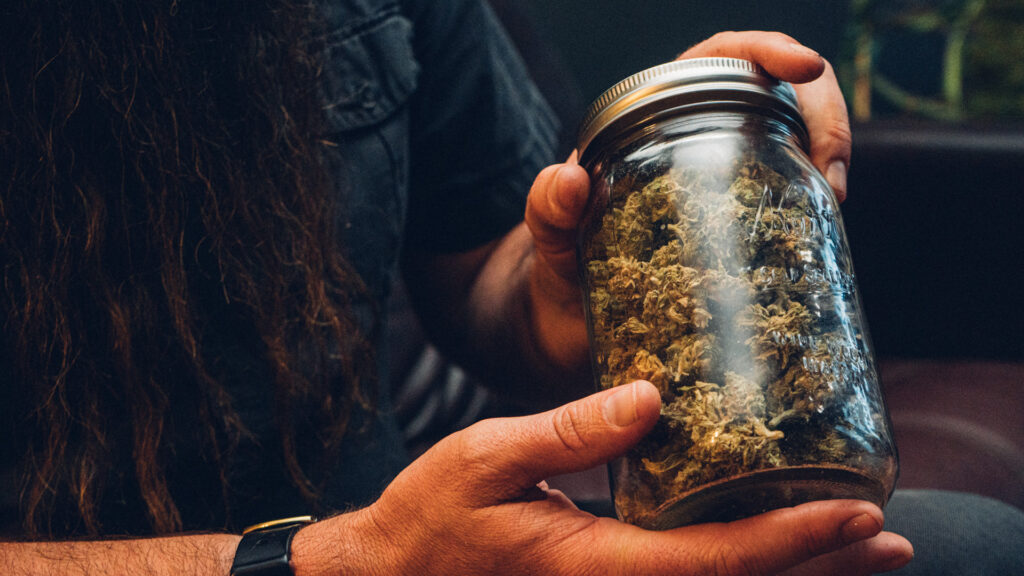
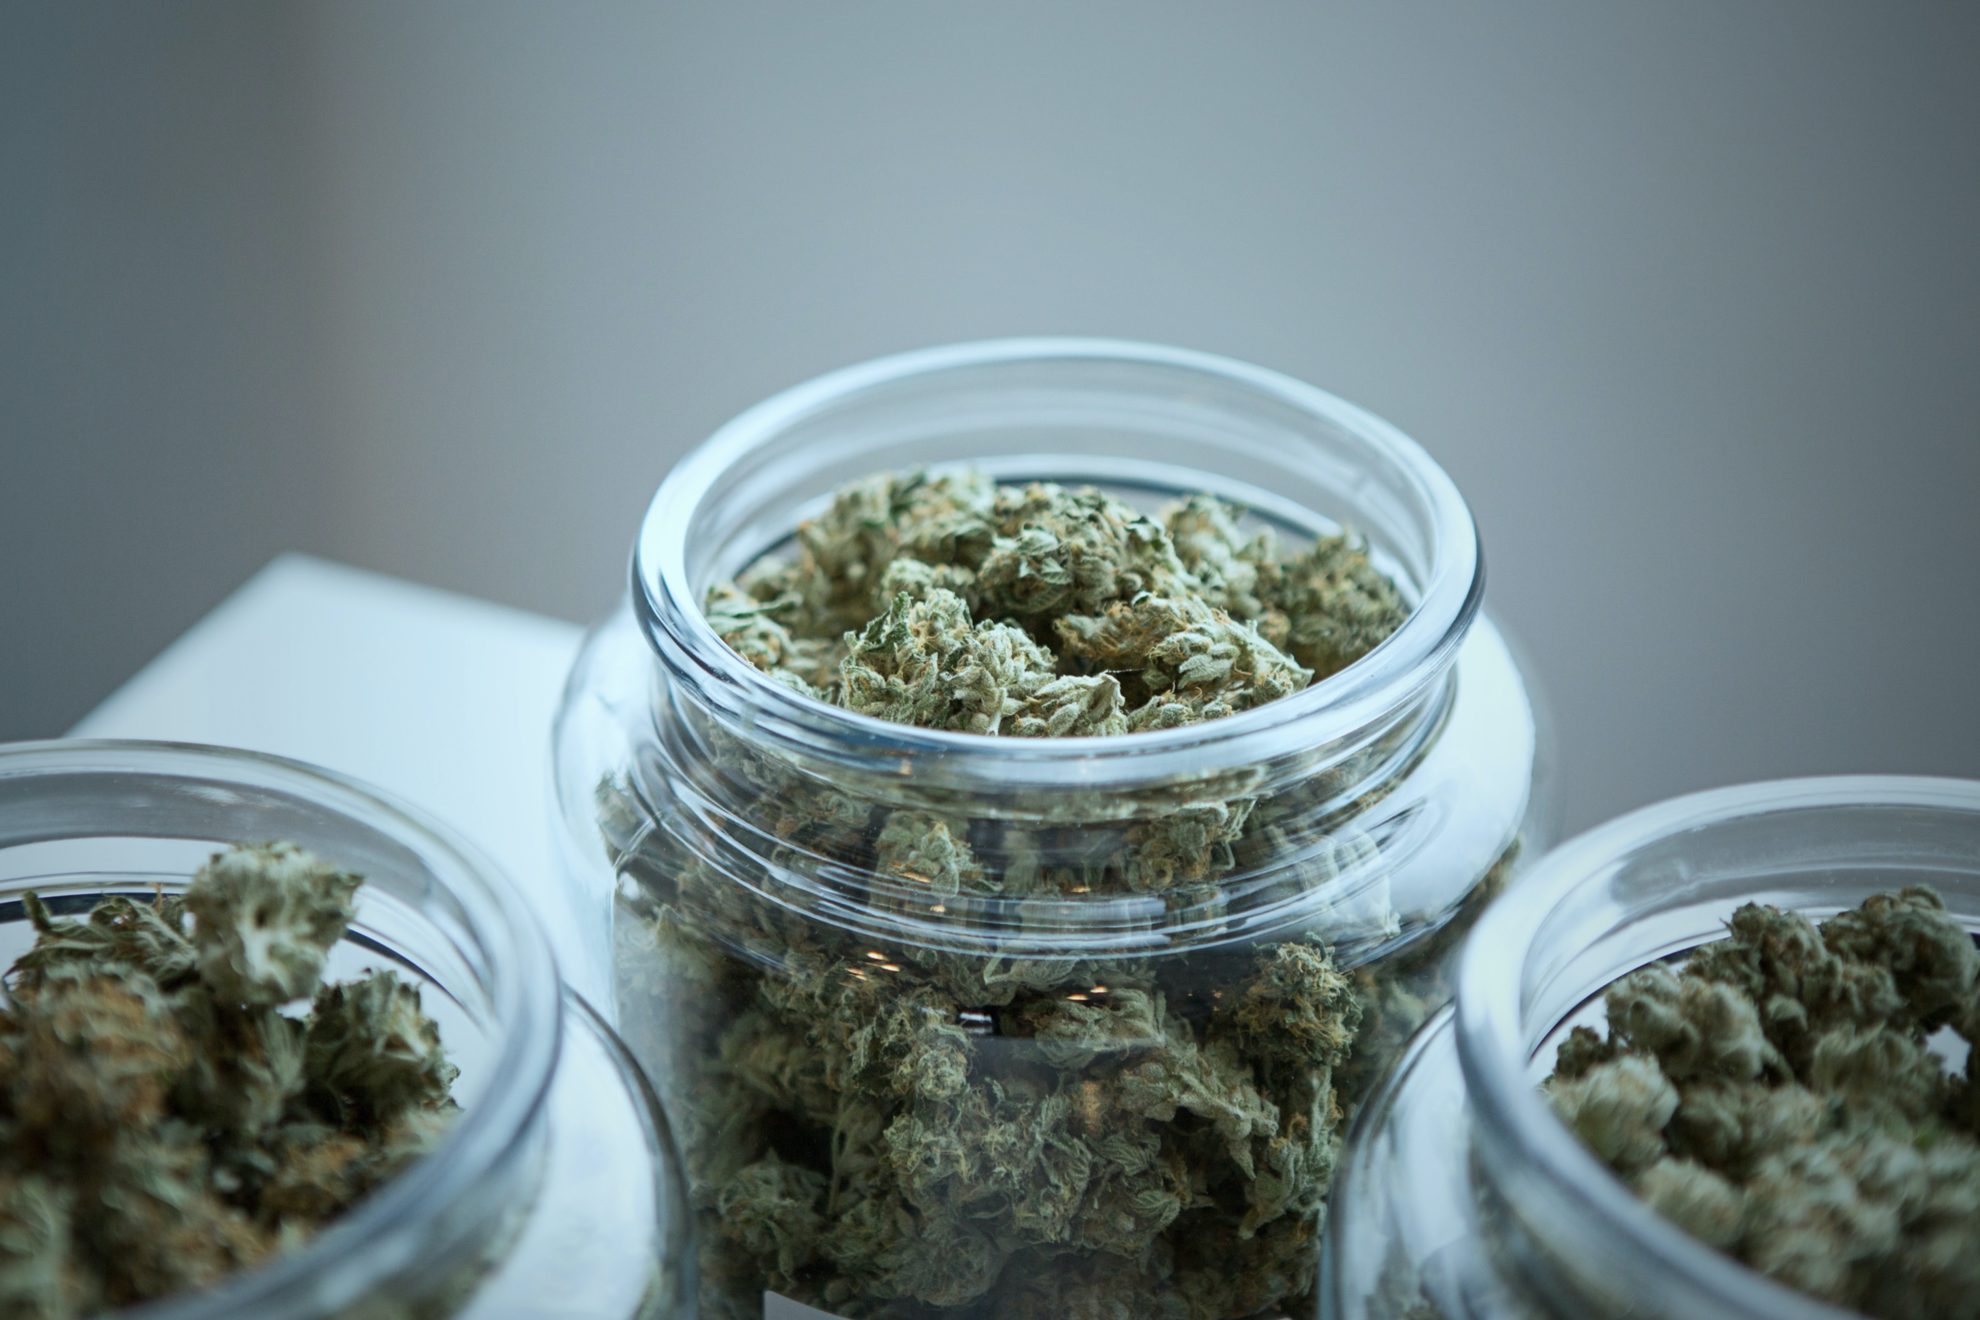
Curing is the final and most important step in post-harvest processing. This is where the magic happens, as the buds continue to develop their flavor, aroma, and potency. The curing process involves storing the dried buds in airtight containers, typically glass jars, and allowing them to slowly age.
To cure your buds, loosely pack them into the jars, filling them about three-quarters of the way full. For the first week, open the jars for a few hours each day to release moisture and replenish the fresh air. This is known as
“burping.” After the first week, you can reduce the burping frequency to once every few days. The entire curing process should last for at least two to three weeks, but many connoisseurs will cure their buds for several months to achieve the best possible quality. A proper cure will not only improve the smoothness and flavor of your smoke but will also increase the shelf life of your harvest.
Step 6: Essential Care & Troubleshooting
Throughout the growing process, your cannabis plants will require consistent care and attention. Providing the right amount of water, nutrients, and light is essential for healthy growth. It’s also important to be able to identify and address common problems before they can cause significant damage to your crop.
This section will cover the fundamentals of plant care and provide guidance on how to troubleshoot common issues that may arise during your cannabis cultivation journey.
Watering, Nutrients, and Lighting
- Watering: Proper watering is a cornerstone of healthy plant development. Overwatering is one of the most common mistakes made by beginner growers and can lead to root rot and other issues.
The general rule of thumb is to water your cannabis plants when the top inch of the growing medium feels dry to the touch. When you do water, make sure to saturate the entire root zone until you see about 10-20% runoff from the bottom of the pot.
This ensures that the entire root system has access to water and helps to flush out any excess nutrient salts. - Nutrients: Cannabis plants are heavy feeders and require a steady supply of nutrients to support their vigorous growth. The three primary macronutrients are Nitrogen (N), Phosphorus (P), and Potassium (K).
During the vegetative stage, your plants will require a higher ratio of Nitrogen to fuel leafy growth. As they transition to the flowering stage, their needs will shift to a higher ratio of Phosphorus and Potassium to support bud development.
It’s important to follow the feeding schedule provided by your chosen nutrient brand and to be mindful of overfeeding, which can lead to nutrient burn. A common sign of nitrogen deficiency is the yellowing of lower leaves. - Lighting: As discussed earlier, lighting is a critical factor in cannabis cultivation, especially for indoor growing. The light cycle you provide will determine whether your photoperiod plants flower or remain in the vegetative stage.
The intensity of your grow lights will also have a direct impact on your final yield. During the vegetative stage, a light cycle of 18 hours on and 6 hours off is standard.
To initiate flowering, the light cycle is switched to 12 hours on and 12 hours off. It’s important to maintain a consistent distance between your grow lights and the plant canopy to prevent light burn and ensure even coverage.
Common Problems and How to Solve Them
Even with the best care, you may encounter some challenges during your home cultivation journey. Being able to quickly identify and address these issues is key to minimizing their impact on your harvest.
- Pests: Common pests that can affect cannabis plants include spider mites, fungus gnats, and aphids. The best defense against pests is a clean grow space and good air circulation.
If you do encounter pests, there are a variety of organic and synthetic pesticides available. Neem oil is a popular organic option for controlling a wide range of pests. - Nutrient Deficiencies: Nutrient deficiencies can manifest in a variety of ways, including yellowing leaves, stunted growth, and discoloration. The first step in diagnosing a nutrient deficiency is to check the pH of your growing medium.
An incorrect pH can lock out certain nutrients, even if they are present in the soil. If the pH is correct, you may need to adjust your nutrient solution to address the specific deficiency. - pH Issues: The pH of your water and growing medium has a significant impact on your plant’s ability to absorb nutrients. For soil grows, the ideal pH range is between 6.0 and 7.0. For hydroponic systems, the ideal range is between 5.5 and 6.5. You can use a pH testing kit to monitor the pH of your nutrient solution and adjust it as needed using pH up or pH down products.
- Bud Rot: Bud rot is a devastating fungal disease that can quickly destroy a promising harvest. It is most common in dense, moist buds and is often caused by poor air circulation and high humidity.
To prevent bud rot, it’s crucial to maintain good airflow around your flowering plants and to keep the humidity in your grow space below 50% during the flowering stage. If you do spot bud rot, which appears as a brown, mushy, or moldy section of a bud, you should immediately remove the affected area to prevent it from spreading.
Final Thoughts
Growing cannabis at home is a deeply rewarding experience that connects you with the plant on a whole new level. From the initial excitement of seeing a taproot emerges to the satisfaction of a successful harvest, the cultivation process is a journey of learning and discovery.
While the prospect of home cultivation may seem complex at first, breaking it down into manageable steps makes the process accessible to anyone with a passion for gardening and a desire to learn. By providing your cannabis plants with the right environment, care, and attention, you can cultivate your own high-quality cannabis flower from the comfort of your primary residence.
Remember that every grow is a learning opportunity, and with each harvest, you will refine your skills and deepen your understanding of this remarkable weed plant. Happy growing!
Related Stories


Sign up for bi-weekly updates, packed full of cannabis education, recipes, and tips. Your inbox will love it.