 Merch
Merch Medical card
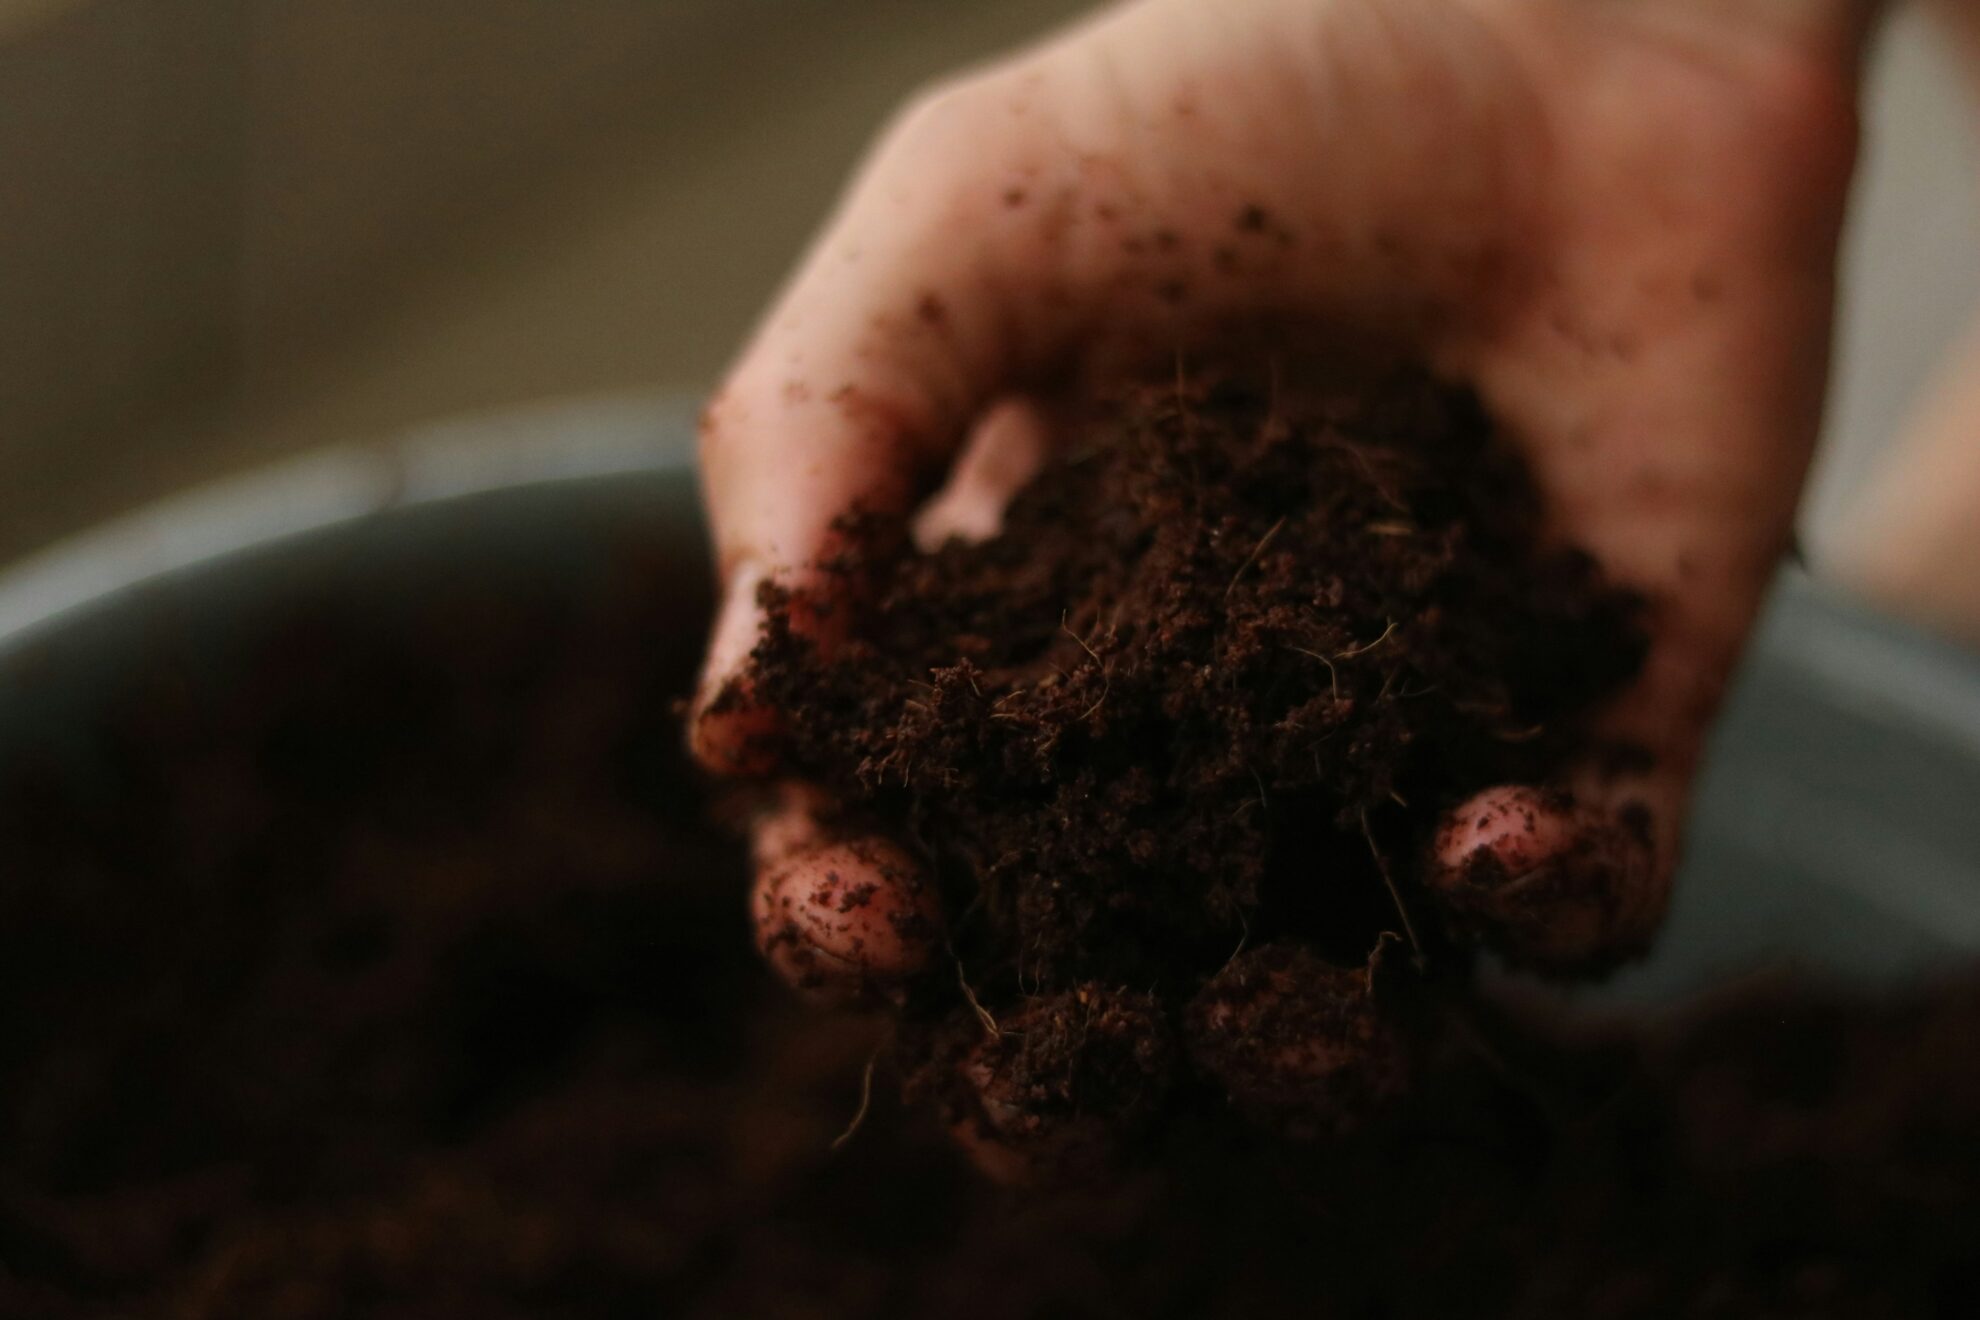
A practical beginner’s guide that uses cannabis-related organic waste as a relatable entry point into the basics of home composting.
Spring arrives, the garden wakes up, and somewhere near the shed you’ve got a pile of fan leaves, woody stems, and spent root balls from last season’s cannabis grow. Composting cannabis waste means breaking down that plant material, along with organic kitchen scraps, into finished compost through managed microbial decomposition. Your beds get the nutrients back. This guide covers how to build a compost bin from scratch: site selection, layering browns and greens, moisture and aeration basics, and the science that drives the whole process.
Composting cannabis waste: what cultivators have to work with
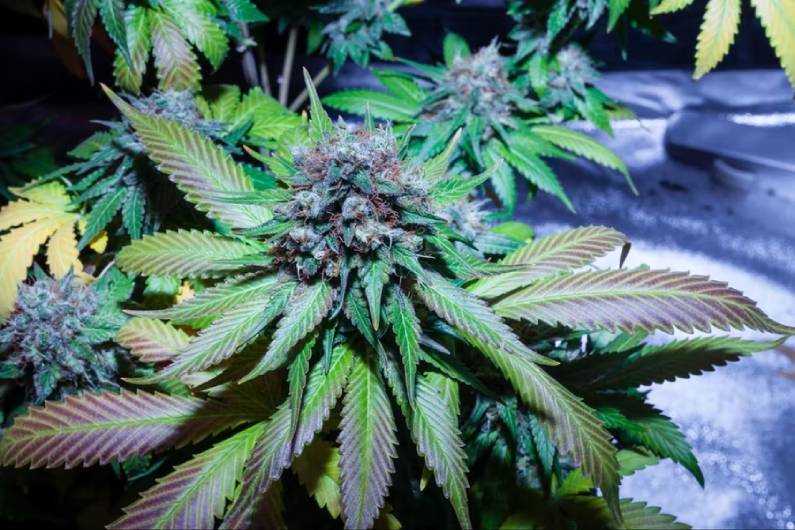
If you grow cannabis at home, you’re already sitting on some of the best organic material a compost pile could ask for. Fan leaves, stalks, root balls, trim, and spent growing medium all qualify as organic matter and break down well in a managed pile.
Research confirms that composting degrades residual cannabinoids in cannabis plant material. A study published by BioCycle found that controlled composting reduced THC levels in discarded cannabis products to non-detectable concentrations. A peer-reviewed study in the Journal of Plant Nutrition and Soil Science found that converting cannabis waste biomass through composting produced a viable fertilizer substitute, returning nutrients to the soil rather than sending them to a landfill. A broader review of cannabis waste management pathways lists composting among the most practical end-of-life options for cultivators at any scale.
The punch line: the same plants that pulled nutrients from your soil can put them back.
How to set up your first home composting bin
You don’t need much. A bin, a spot in the yard, and a rough understanding of layering will get you there.
Site and bin choice
Pick a level spot with partial shade and decent drainage. Close enough to the garden to be convenient, far enough from the kitchen door to avoid any aromatic feedback. According to the NRDC, closed bins manage moisture and pests better in wetter climates, while open bins allow more airflow in drier regions. A simple three-sided pallet structure works fine. So does a purchased plastic tumbler. The bin matters less than what goes inside it.
Layering basics
Compost runs on two categories of material: browns (carbon-rich) and greens (nitrogen-rich). The nitrogen-to-carbon ratio drives microbial activity; too much carbon and decomposition crawls, too much nitrogen and the pile turns slimy. The US EPA recommends roughly a 3:1 ratio of browns to greens by volume. Start with a 4-inch base layer of coarse browns for airflow, then alternate layers from there. Penn State Extension advises chopping or shredding material before adding it, since smaller particle sizes speed decomposition significantly.
Browns (carbon)
- Dried leaves
- Cardboard and paper (uncoated)
- Woody cannabis stems
- Straw or wood chips
- Paper bags
Greens (nitrogen)
- Fresh cannabis fan leaves and trim
- Vegetable and fruit scraps
- Grass clippings
- Coffee grounds
- Fresh garden trimmings
Keep these out of the bin
- Meat, fish, and dairy (attracts pests and creates odor)
- Oils and cooked fats
- Pet waste
- Diseased plant material
- Treated or painted wood
- Glossy or coated paper
Moisture and aeration: the two controls you actually manage
The pile should feel like a wrung-out sponge. Squeeze a handful and a few drops of water should come out. Drier than that and microbial activity stalls. Wetter than that and the pile turns anaerobic, which means it smells and decomposes at a crawl.
Aeration is the other lever. Turn the pile every one to two weeks with a fork or shovel. Each turn pushes fresh oxygen into the center, where most of the microbial action happens. Research on aeration rate and reactor design in composting confirms that adequate airflow directly controls pile temperature and reduces the release of odorous compounds. More air means faster, cleaner decomposition.
Signs your pile is working: The center heats up noticeably within a few days of turning. You may see steam on cold mornings. The volume shrinks over weeks. Earthy smell, not sour or ammonia-like. Those are all good signs.
How aerobic decomposition works in a home compost pile
Decomposition is microbial work. Bacteria and fungi break down organic matter into humus, the stable end product that improves soil structure, water retention, and nutrient availability. Temperature, oxygen, and moisture are the three variables that control how fast they do it.
A well-managed pile reaches 130 to 160°F in the active phase. Hot composting at those temperatures kills most weed seeds and pathogens. Classic experimental work on compost thermodynamics established that adequate moisture and aeration together drive the temperature peaks that determine finished compost quality. The life-cycle assessment literature on hemp biomass points to composting as a superior end-of-life pathway precisely because it captures that biological energy rather than releasing it through incineration or landfill decomposition. The microbes are doing the real work. Your job is keeping them fed, watered, and breathing.
Most home compost bins produce finished compost in two to six months, depending on season, feedstock, and how often you turn the pile. Spring is the best time to start because warming temperatures accelerate microbial activity. By late summer, you’ll have a rich soil amendment worth spreading on the beds that fed your plants in the first place.
Frequently Asked Questions
Is composting cannabis waste safe and legal at home?
- Yes. Fan leaves, stems, root balls, and trim all break down in a standard compost pile.
- Research shows composting cannabis waste degrades residual THC to non-detectable levels in finished compost.
- In legal cannabis states, home composting of plant material follows the same rules as any other garden waste. Check local regulations before composting in volume or at commercial scale.
How long does home composting take?
- Most bins produce finished compost in two to six months.
- Smaller particle sizes, regular turning, and balanced moisture shorten that window.
- A pile started in spring, turned regularly, may be ready by late summer.
What is the right browns-to-greens ratio for a compost bin?
- The EPA recommends roughly 3 parts browns to 1 part greens by volume.
- Too many greens and the pile turns slimy and smells. Too many browns and decomposition stalls.
- Cannabis fan leaves count as greens; dried cannabis stems count as browns.
Does my compost bin need to be expensive or elaborate?
- No. A three-sided pallet structure costs almost nothing and works well.
- Closed plastic bins perform better in wet climates; open bins suit drier regions.
- The bin design matters less than consistent layering, moisture, and turning.


Sign up for bi-weekly updates, packed full of cannabis education, recipes, and tips. Your inbox will love it.