 Merch
Merch Medical card
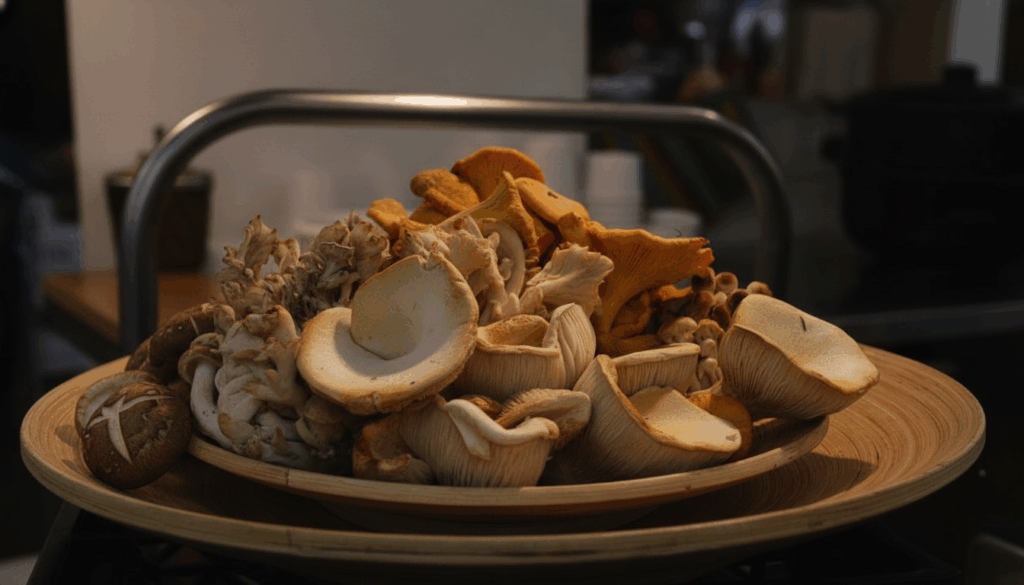
Growing mushrooms at home is easier than you think. For many mushroom enthusiasts, the idea of cultivating mushrooms at home is both exciting and a little intimidating, especially for beginners. Unlike plants, mushrooms are the fruiting bodies of fungi, which have a unique biology and life cycle distinct from traditional vegetation. Mushrooms do not produce their own food through photosynthesis; instead, they obtain nutrients from their substrate, such as wood or straw. Whether you’re craving fresh oyster mushrooms for tonight’s stir-fry or want to experiment with exotic varieties like lion’s mane, this guide will walk you through everything you need to know. If you’re worried about making mistakes or not knowing where to start, don’t worry—using kits and following clear instructions can help ease those worries and make the process enjoyable.
Why Grow Your Own Mushrooms?
The benefits go far beyond just having fresh produce at your fingertips. Home mushroom cultivation gives you complete control over your growing conditions, ensuring you get the cleanest, most flavorful mushrooms possible. Mushrooms also offer significant health benefits, supporting immune function and providing essential nutrients and antioxidants for overall wellness.
Cost savings add up quickly. A single oyster mushroom liquid culture can produce multiple flushes over several months, yielding pounds of fresh mushrooms. Growing shiitake mushrooms at home is much cheaper than buying them in stores, making home cultivation an affordable option. Compare that to grocery store prices of $12-15 per pound, and you’ll break even after your first harvest.
Plus, there’s something deeply satisfying about watching mushrooms emerge from substrate you prepared yourself. Homegrown mushrooms are not only rewarding to cultivate but also delicious, adding a superior, flavorful touch to your meals. Mushrooms are a favorite ingredient to cook with, and growing your own lets you experiment with different recipes and enjoy their unique flavors. It’s like gardening on fast-forward—some species fruit in as little as 7-10 days.
Choosing the Right Mushroom Species
Not all mushrooms are created equal when it comes to ease of cultivation. Your success as a beginner depends heavily on picking the right species to start with. Unlike plants, mushrooms are the fruiting bodies of fungi, which have a unique biology and life cycle distinct from traditional vegetation. Mushroom spores are often used to start the cultivation process, especially for traditional log-based methods with species like oyster and shiitake mushrooms.
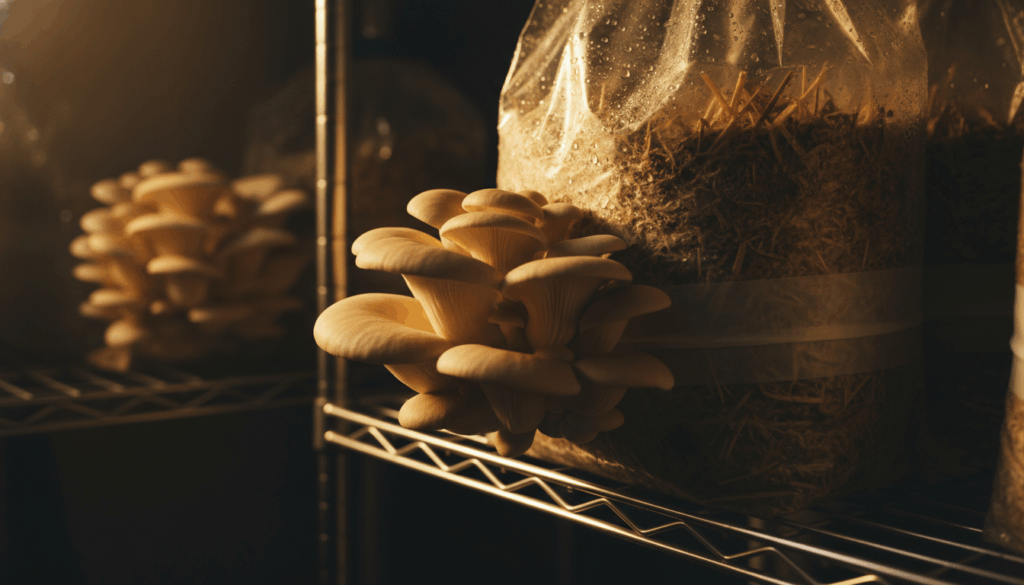
Oyster Mushrooms – Best for Beginners
Oyster mushrooms are the most forgiving species for new growers. They colonize quickly, tolerate temperature fluctuations, and produce generous yields. According to Cornell’s Small Farms Program, oyster mushrooms can grow on nearly any agricultural waste, from straw to coffee grounds. They can also be cultivated in buckets or other containers, making them accessible for home growers. To use a bucket, simply fill the bucket with coffee grounds, create holes in the sides for airflow and mushroom growth, and use this as a simple and effective method for growing oyster mushrooms at home. These mushrooms thrive in temperatures between 55-75°F and fruit in as little as 5-7 days after pinning begins. When preparing oyster mushroom kits, soaking the substrate is often recommended to promote mushroom formation. Blue oyster varieties are particularly vigorous and resistant to contamination.
Shiitake – Moderate Difficulty
Shiitake mushrooms require more patience but reward you with incredible flavor. Traditional log cultivation takes 6-18 months for the first harvest, though sawdust-based methods from the University of Idaho Extension can speed this up significantly. Using hardwood logs or other wood materials as the primary substrate is essential for successful shiitake cultivation. Selecting the right materials, such as sawdust or shredded paper, can also influence shiitake yield and quality. The trade-off? Shiitake demands precise temperature control. They need a cold shock (around 50°F) to trigger fruiting, making them trickier for indoor growers without climate control.
Lion’s Mane – Intermediate Level
Lion’s mane offers a unique challenge with its specific environmental needs. Research published in Frontiers in Plant Science demonstrates that optimized substrate formulas can achieve biological efficiency rates of 89%, but this requires attention to detail. Temperature precision matters here—mycelial growth at 77°F, post-ripening at 62-72°F, and fruiting at 59-64°F. Get these right, and you’ll harvest beautiful cascading fruits in 7-9 days.
Three Methods to Start Growing
Your growing method should match your experience level and commitment. Beginners can start with a mushroom cultivation kit, which provides everything needed and clear instructions. More advanced growers may use mushroom spawn to inoculate substrates, or purchase spores from reputable sources to begin the cultivation process. Here’s the progression from easiest to most advanced.
Method 1 – Mushroom Growing Kits (Easiest)
Ready-to-fruit kits eliminate the guesswork entirely. The substrate arrives fully colonized—just mist it twice daily and wait for mushrooms to appear. Mushroom growing kits are ideal for mushroom lovers and beginners who want a simple, hassle-free introduction to cultivation. This approach works best for absolute beginners or anyone wanting immediate results. Expect your first pins within 3-7 days of opening the kit. Most kits produce 2-3 flushes before exhausting the substrate.
Method 2 – Liquid Culture & Substrate (Intermediate)
Using liquid culture gives you more control while still being relatively simple. You’ll inoculate pre-sterilized substrate bags with liquid culture, then wait for colonization before inducing fruiting. This method costs less per grow and teaches you fundamental mycology principles. Penn State Extension’s mushroom production guide offers excellent technical details on substrate preparation and spawn rates.
Method 3 – Growing from Spores (Advanced)
Starting from spores involves creating your own liquid culture or agar plates, then transferring clean mycelium to grain spawn, and finally to bulk substrate. In this process, mushroom spawn acts as the seed, containing the mycelium needed to initiate mushroom growth. This multi-step process demands sterile technique and patience. The reward? Unlimited growing potential at the lowest cost per pound. Once you master inoculation techniques, you can propagate mushrooms indefinitely from a single spore sample.
Essential Equipment for Each Method
Don’t overthink equipment—start simple and upgrade as you gain experience. Choosing the right materials and material for your substrate and equipment is essential for successful mushroom cultivation, as the type of material used can directly impact the growth and yield of your mushrooms.
Beginner Kit Supplies
For kit growing, you only need a spray bottle for misting, a humidity tent (a clear plastic storage tote works perfectly), and a thermometer to monitor temperature. That’s it. Keep your kit in indirect light with good air circulation. Avoid direct sunlight, which can dry out your substrate too quickly.
Intermediate Growing Supplies
Stepping up to liquid culture requires sterilized substrate bags, injection ports, micropore tape, and a still air box for contamination-free inoculation. A pressure cooker becomes invaluable if you want to prepare your own grain spawn. Advanced growers should review Penn State’s Commercial Mushroom Growers Handbook for detailed technical specifications on equipment, substrate formulations, and environmental controls. While written for commercial operations, the principles scale down perfectly for serious hobbyists.
Step-by-Step Growing Process
Understanding the mushroom lifecycle helps you troubleshoot problems and optimize yields. Every cultivation method follows these core stages. Mushrooms grow rapidly, often developing from spores to harvestable size in just a few days under optimal conditions, which highlights their fast and efficient lifecycle.
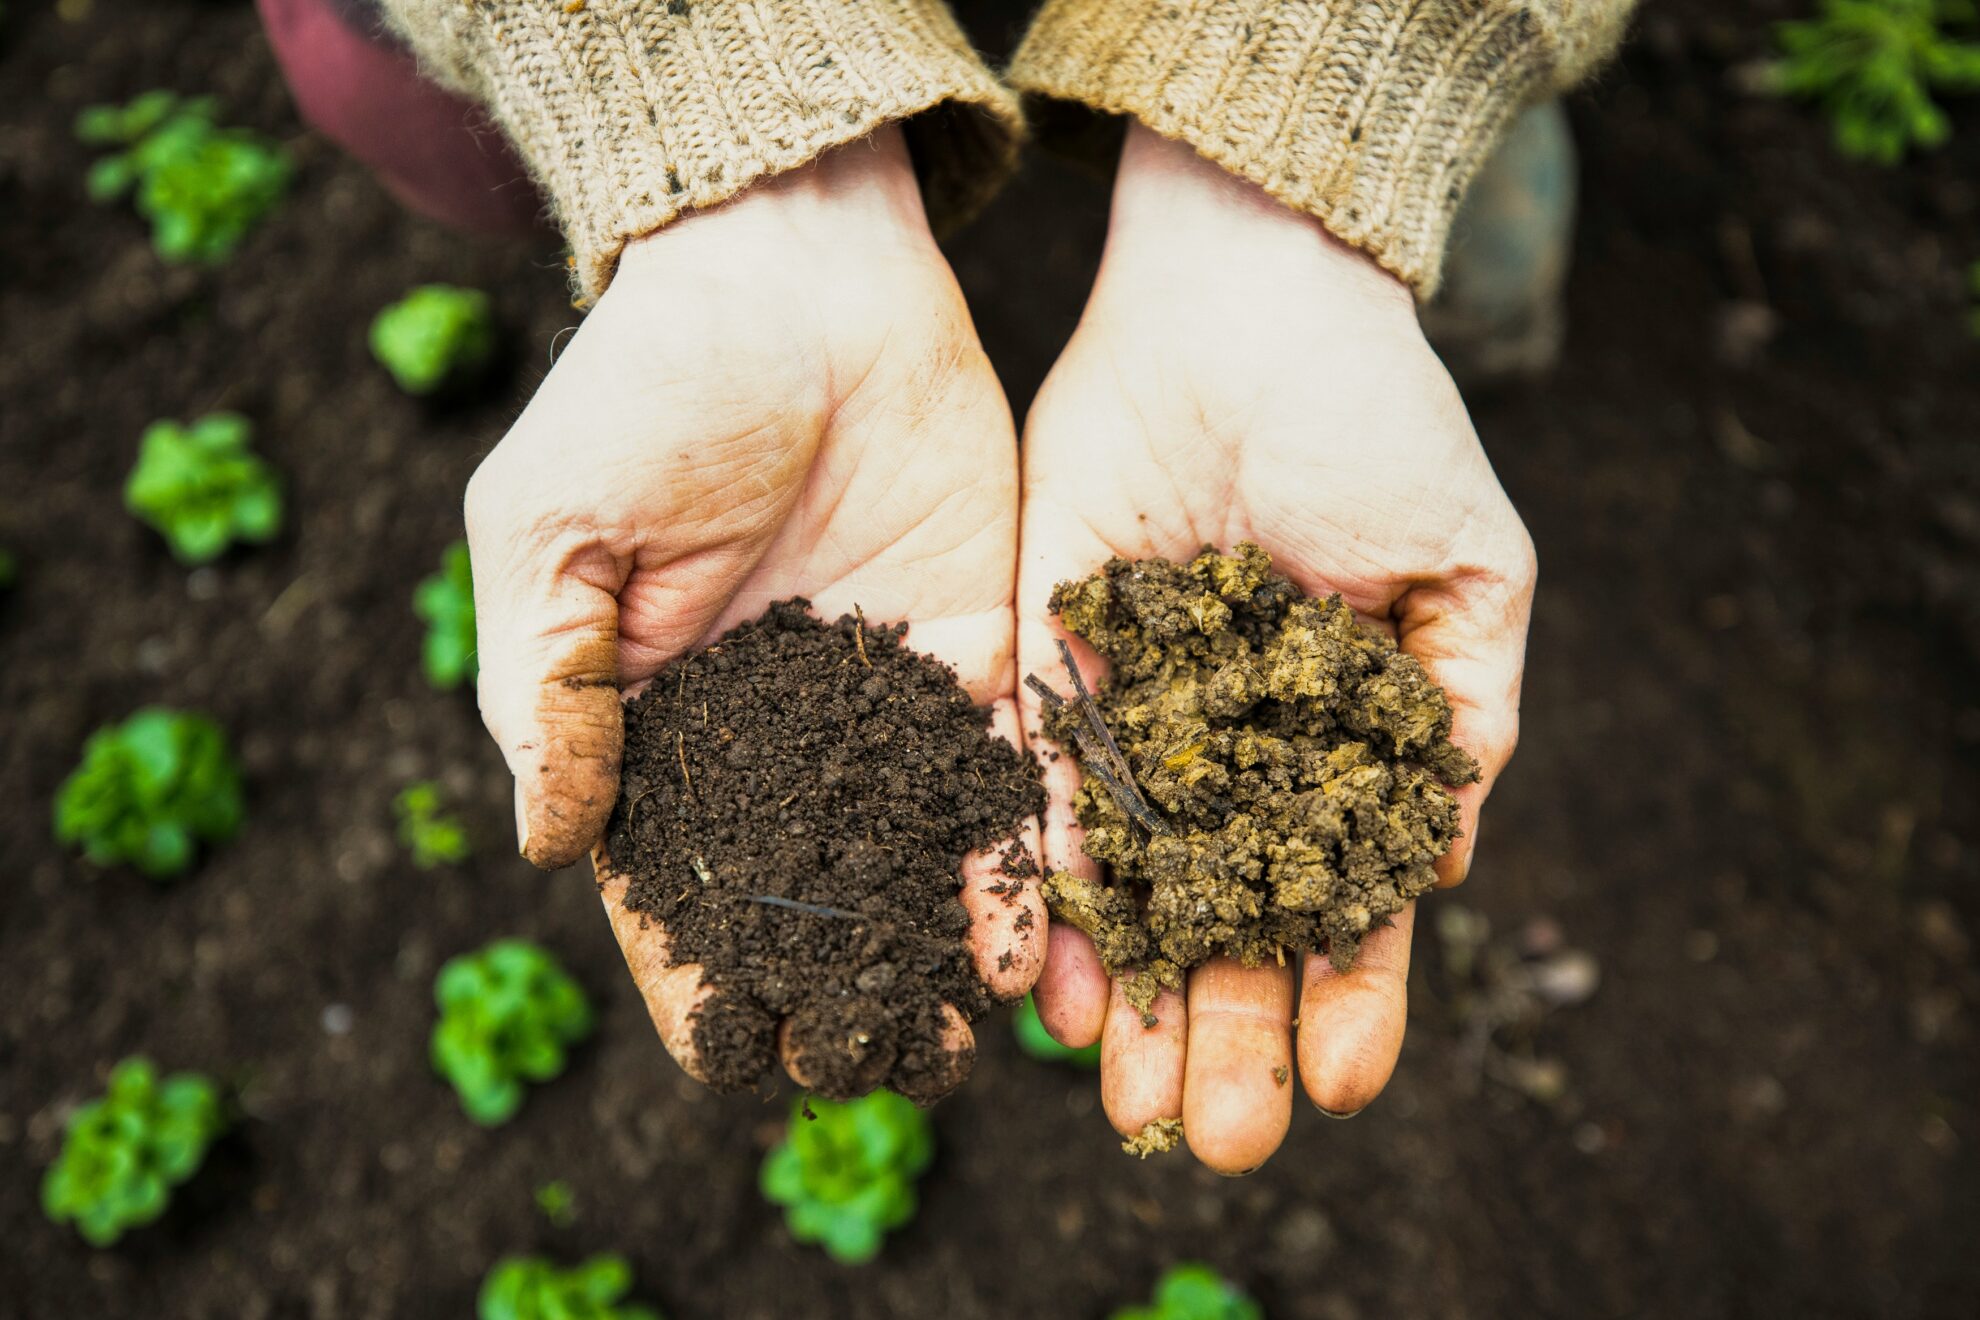
Substrate Preparation
Your substrate is the mushroom’s food source. Organic material such as straw, sawdust, or compost provides the nutrients mushrooms need to grow. Oyster mushrooms thrive on pasteurized straw or hardwood sawdust, while shiitake prefers supplemented hardwood sawdust. To create an optimal growing environment, mix different substrate components—such as soil and sawdust—until you achieve a uniform blend. Once prepared, fill your container or tray with the substrate mix. Some growers use a mix of soil and sawdust as a casing layer to support mushroom fruiting. The key is achieving the right moisture content—substrate should feel damp but not dripping when squeezed. Pasteurization eliminates competing organisms without sterilizing. Heat substrate to 160-180°F for 1-2 hours, then cool before inoculation.
Inoculation and Colonization
This stage is where mycelium spreads through your substrate. Inject liquid culture through ports in your substrate bag, then store in a dark, warm area (70-75°F for most species). White, fluffy mycelium should become visible within 3-5 days—these white threads are the visible network of mycelium, indicating healthy colonization. Full colonization typically takes 10-21 days depending on substrate volume and spawn rate. The point at which the substrate is fully colonized marks a key stage before moving to fruiting conditions. Patience here prevents contamination issues later.
Fruiting Conditions
Once substrate is fully colonized, it’s time to trigger fruiting. This signals the mushroom that it’s time to reproduce by forming fruiting bodies.
Be careful when monitoring and adjusting moisture levels to avoid overwatering or encouraging mold growth. The casing layer should be kept wet but not waterlogged to support healthy fruiting. Loosely cover the setup with plastic or a humidity tent to help retain moisture during the fruiting stage. Ensure proper air flow to prevent contamination and to distribute moisture evenly throughout the growing environment.
Temperature Requirements
Most species need a temperature drop of 5-10°F from colonization to fruiting temps. Oysters fruit at 50-70°F, shiitake at 50-60°F, and lion’s mane at 59-64°F. Consistency matters more than hitting exact numbers.
Humidity Control
Mushrooms are 90% water, so they need high humidity to develop properly. Maintain 80-95% relative humidity during fruiting by misting 2-4 times daily. A hygrometer takes the guesswork out of this. Fresh air exchange is equally critical—mushrooms release CO2 and need oxygen to form properly. Without adequate airflow, you’ll get leggy stems and small caps.
Indoor vs Outdoor Growing
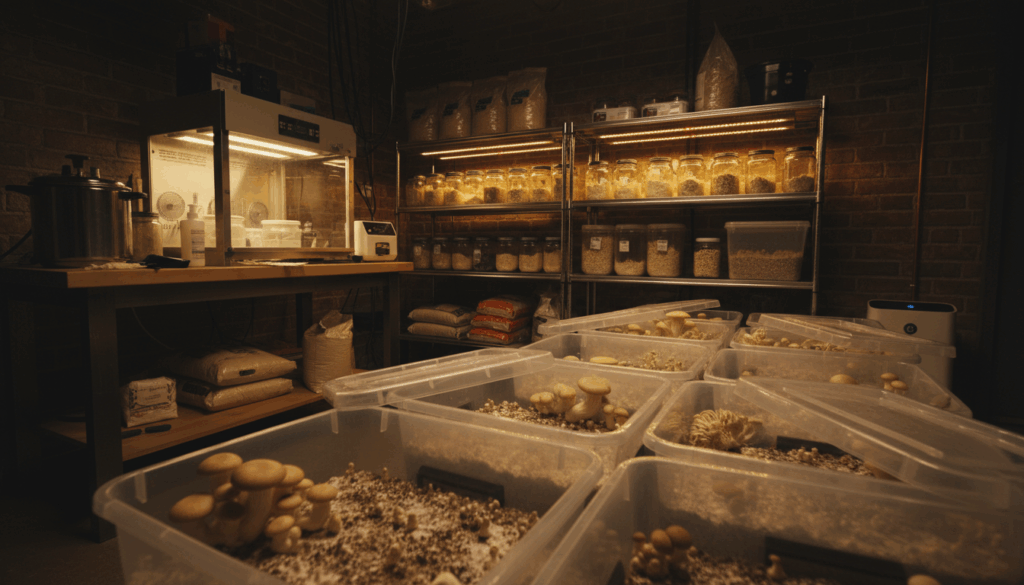
Location impacts which species you can grow and how much effort you’ll invest in environmental control. Growing mushrooms indoors allows for better control and consistent yields, with methods like the Monotub or Martha Tent being popular choices. North Spore offers mushroom cultivation products and kits that can help simplify the process for both indoor and outdoor growers.
For outdoor cultivation, you can grow mushrooms on logs or wood chips, but cultivating mushrooms in a garden bed is also a great alternative, taking advantage of the natural environment and soil conditions.
When to Choose Indoor Methods
Indoor cultivation gives you year-round production and precise environmental control. It’s ideal for species sensitive to temperature swings or for growers in extreme climates. The downside? You’ll need dedicated space and humidity management. A spare closet, basement corner, or even a large storage tote can work for small-scale production.
Outdoor Log Cultivation
Shiitake excels on outdoor logs, requiring minimal maintenance once inoculated. Cut fresh hardwood logs in late winter, drill holes, insert spawn plugs, and seal with wax. Logs fruit naturally with seasonal temperature changes and rainfall. While it takes 6-18 months for initial fruiting, established logs produce for 3-5 years with zero daily maintenance.
Common Problems and Solutions
Every grower encounters setbacks. Here’s how to diagnose and fix the most common issues.
After harvesting, it’s helpful to let the substrate rest for a bit before starting the next flush. This short rest period allows the substrate to recover and prepare for optimal mushroom growth.
Contamination Issues
Green, black, or pink discoloration signals contamination. Trichoderma (green mold) is the most common culprit, thriving in over-moist conditions with poor airflow. Prevention beats treatment—maintain sterile technique during inoculation, ensure proper substrate moisture, and provide adequate fresh air exchange. Contaminated substrates should be discarded immediately to prevent spore spread.
Slow or No Growth
If mycelium isn’t spreading, check temperature first. Too cold (below 65°F) significantly slows colonization. Too hot (above 80°F) can stall growth or kill mycelium. Insufficient spawn rate also causes slow colonization. Use 5-10% spawn by weight—more spawn means faster colonization and fewer contamination risks.
Poor Fruiting
Mushrooms pin but don’t develop fully? Humidity is likely too low. Increase misting frequency and reduce ventilation temporarily to boost humidity. No pins at all? You may not have triggered fruiting conditions properly. Try a temperature drop, increased fresh air exchange, and introducing light exposure for 12 hours daily.
Harvesting and Storage Tips
Harvesting mushrooms at the right stage is crucial for both quality and continued growth. Timing your harvest correctly maximizes flavor and shelf life. The perfect time to harvest oyster mushrooms is just before the cap edges begin to flatten out. For shiitake, the perfect time is when the veil underneath breaks but before the cap fully opens. Lion’s mane should be picked when spines are still short and white. When harvesting mushrooms, gently grab each one at the base and twist and pull rather than cutting—this prevents stem remnants from rotting and contaminating future flushes. Fresh mushrooms store refrigerated for 7-10 days in paper bags. Avoid plastic, which traps moisture and causes sliminess. For long-term storage, dehydrate at 125°F until cracker-dry, then store in airtight containers for up to a year.
Freshly harvested mushrooms can be cooked in a variety of delicious dishes, making them a versatile addition to your kitchen.
Frequently Asked Questions
How long does it take to grow mushrooms?
From inoculation to harvest, oyster mushrooms take 3-5 weeks total. Shiitake on sawdust blocks takes 8-12 weeks. Lion’s mane requires 4-6 weeks. Growing kits fruit fastest, often producing mushrooms within the first week.
Can I grow mushrooms from grocery store mushrooms?
Yes, but success rates vary. Oyster mushrooms clone easily from store-bought stems placed in moist cardboard or straw. The tissue culture method works better than trying to collect spores. Most store mushrooms are older varieties selected for shelf life rather than vigor, so results may disappoint compared to fresh genetics.
Are mushrooms safe to grow indoors?
Gourmet mushrooms like oyster, shiitake, and lion’s mane are completely safe for indoor cultivation. They don’t produce harmful spores or mycotoxins. However, some people with mold sensitivities may react to heavy spore loads during fruiting. Maintain good ventilation and consider fruiting chambers in garages or basements if you have respiratory sensitivities.
Additionally, mushrooms are rich in nutrients such as selenium and vitamin D, which can help support the immune system and promote overall well-being.
Getting Started with Your First Grow
Ready to begin your mushroom growing journey? Start with a simple oyster mushroom kit to learn the basics without equipment investment. Once you understand fruiting conditions and environmental triggers, graduate to liquid culture methods for better economics and unlimited growing potential. The mushroom cultivation community is incredibly generous with knowledge and support. Don’t hesitate to ask questions, document your grows, and share your results with fellow enthusiasts. Your first successful flush will hook you on this rewarding hobby for life.


Sign up for bi-weekly updates, packed full of cannabis education, recipes, and tips. Your inbox will love it.